Deploy Conduktor Console on AWS with CloudFormation in 10 Minutes
Deploy Conduktor Console on AWS in minutes using CloudFormation and ECS Fargate. Works with MSK, Confluent, Redpanda, and Kafka Connect.

Why Use a Kafka Console
Managing Kafka clusters through CLIs and scattered APIs wastes time. A console gives you topic configs, consumer lag, and data inspection in one place.
Conduktor works with Confluent, AWS MSK, Redpanda, and any Kafka-compatible provider. It supports Confluent Schema Registry, AWS Glue, Kafka Connect, and ksqlDB.
This guide walks you through deploying Conduktor on ECS using CloudFormation. The whole process takes a few clicks. For Kubernetes, use the Helm chart.
[GIF not supported - Claudiu to reupload Video]
Architecture Overview
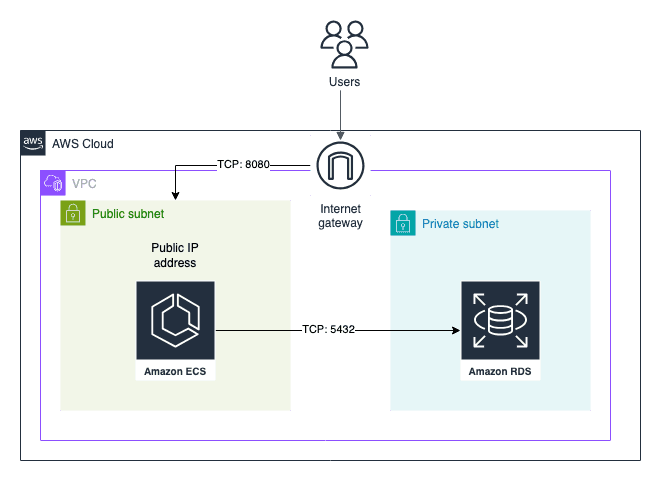
The CloudFormation template deploys:
- An RDS instance for metadata (user preferences, tags, permissions)
- Conduktor Console on ECS Fargate
- A public IP by default (configurable for private access)
Deployment Steps
This guide gets you started. Review the production requirements before deploying to production.
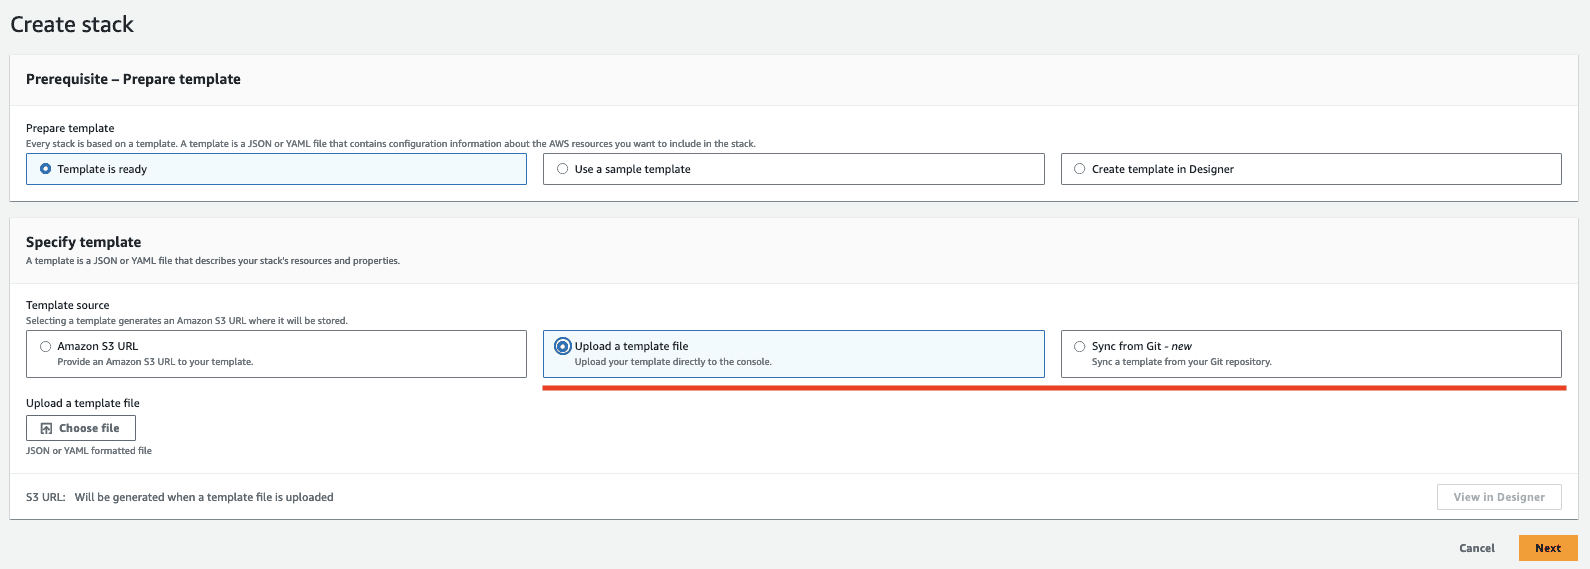
- Go to AWS CloudFormation
- Choose a template:
- Full template: Deploys Conduktor and all required infrastructure
- Lite template: Deploys Conduktor on existing ECS cluster and RDS
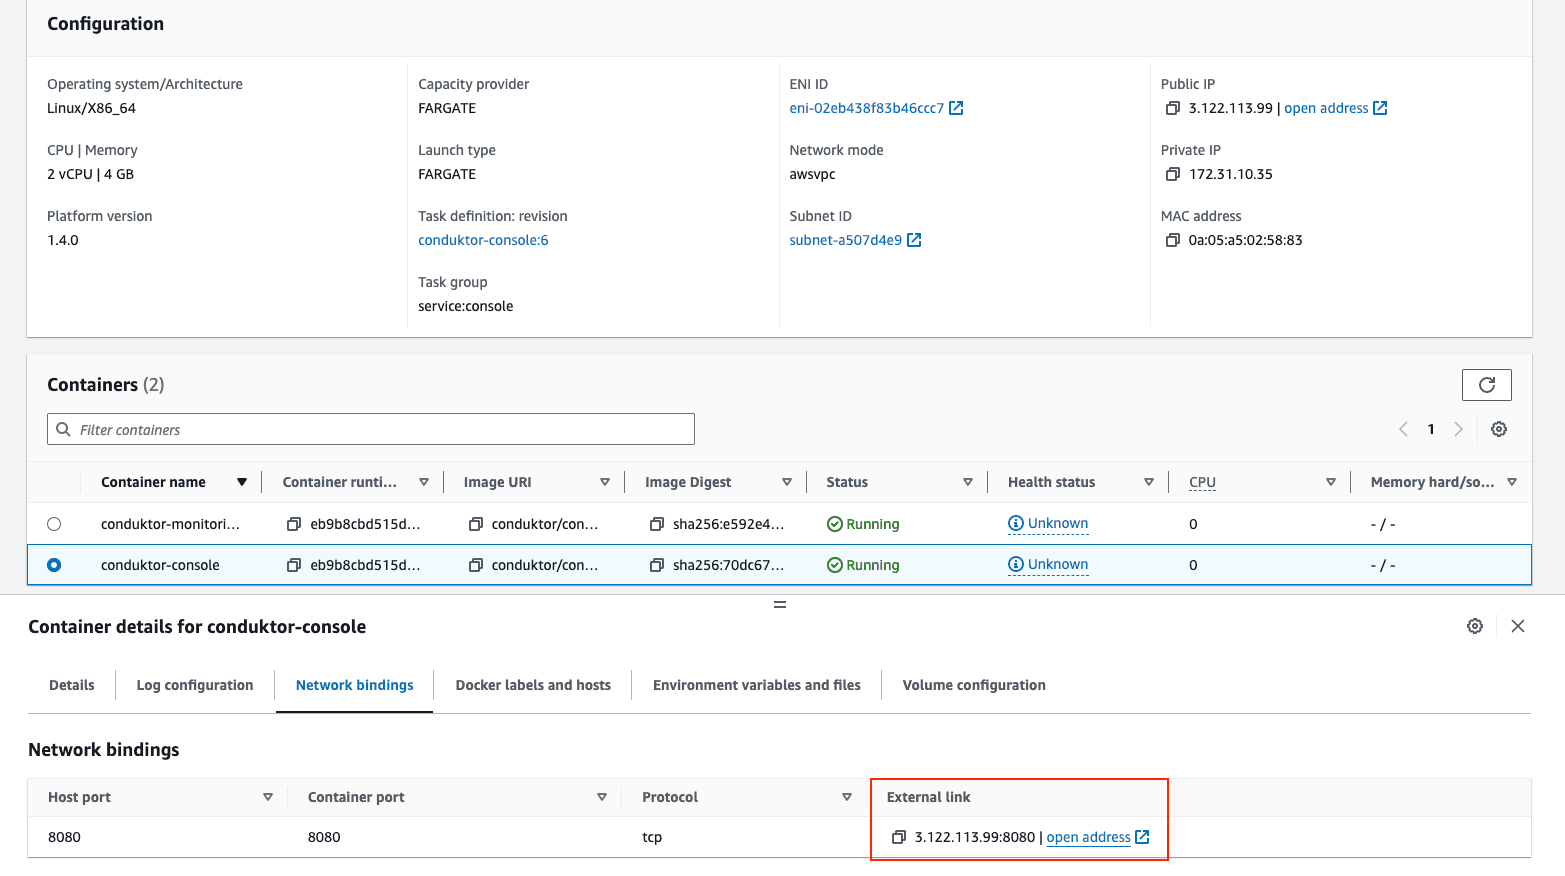
- Wait 5-10 minutes for the stack to complete
- Navigate to Cluster > Service > Task > Conduktor Console > Network Bindings and click the address
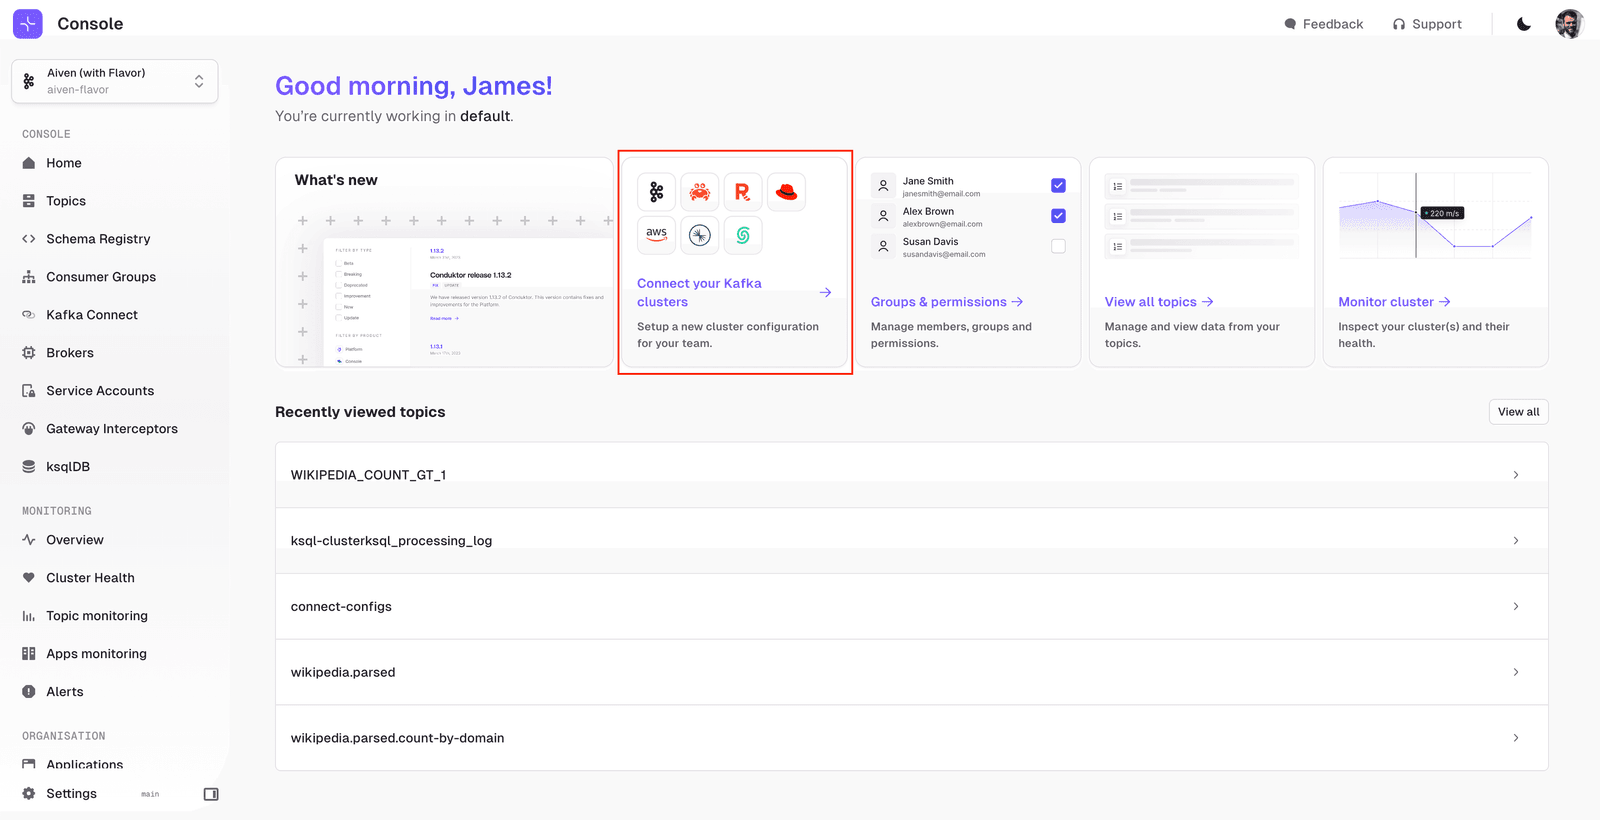
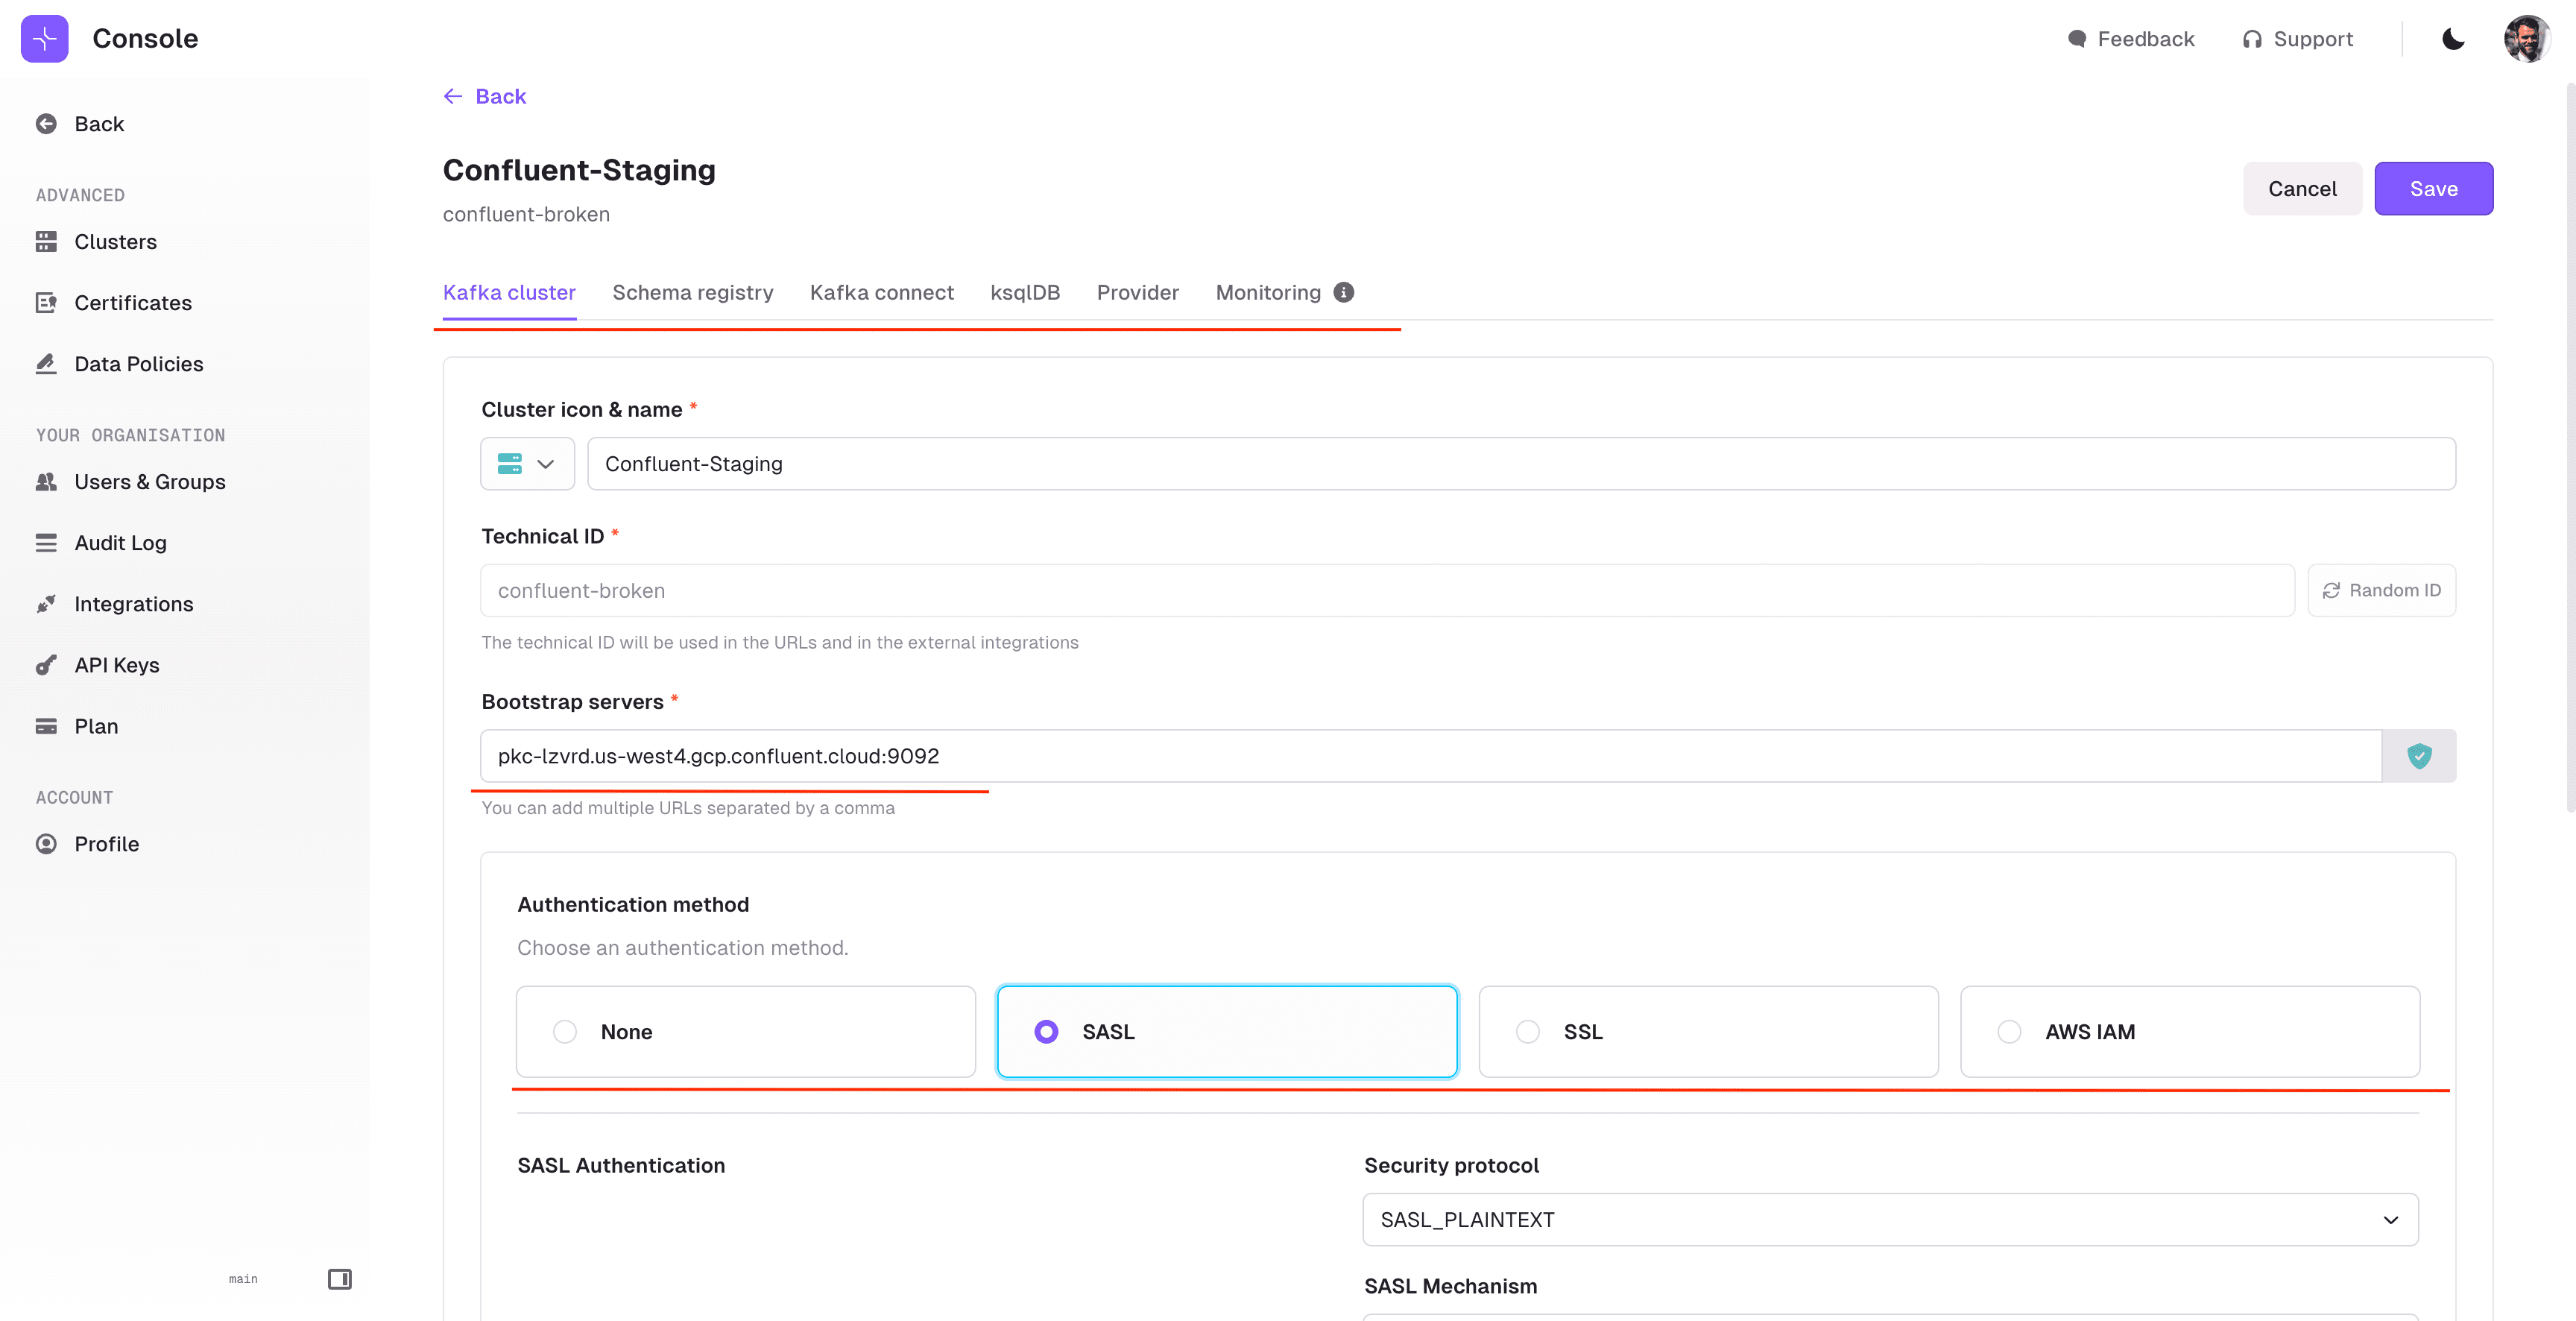
Configure Your Kafka Cluster
Add your first cluster:
Enter your bootstrap server and authentication details. If you use Schema Registry, Kafka Connect, or ksqlDB, add those in the corresponding tabs:
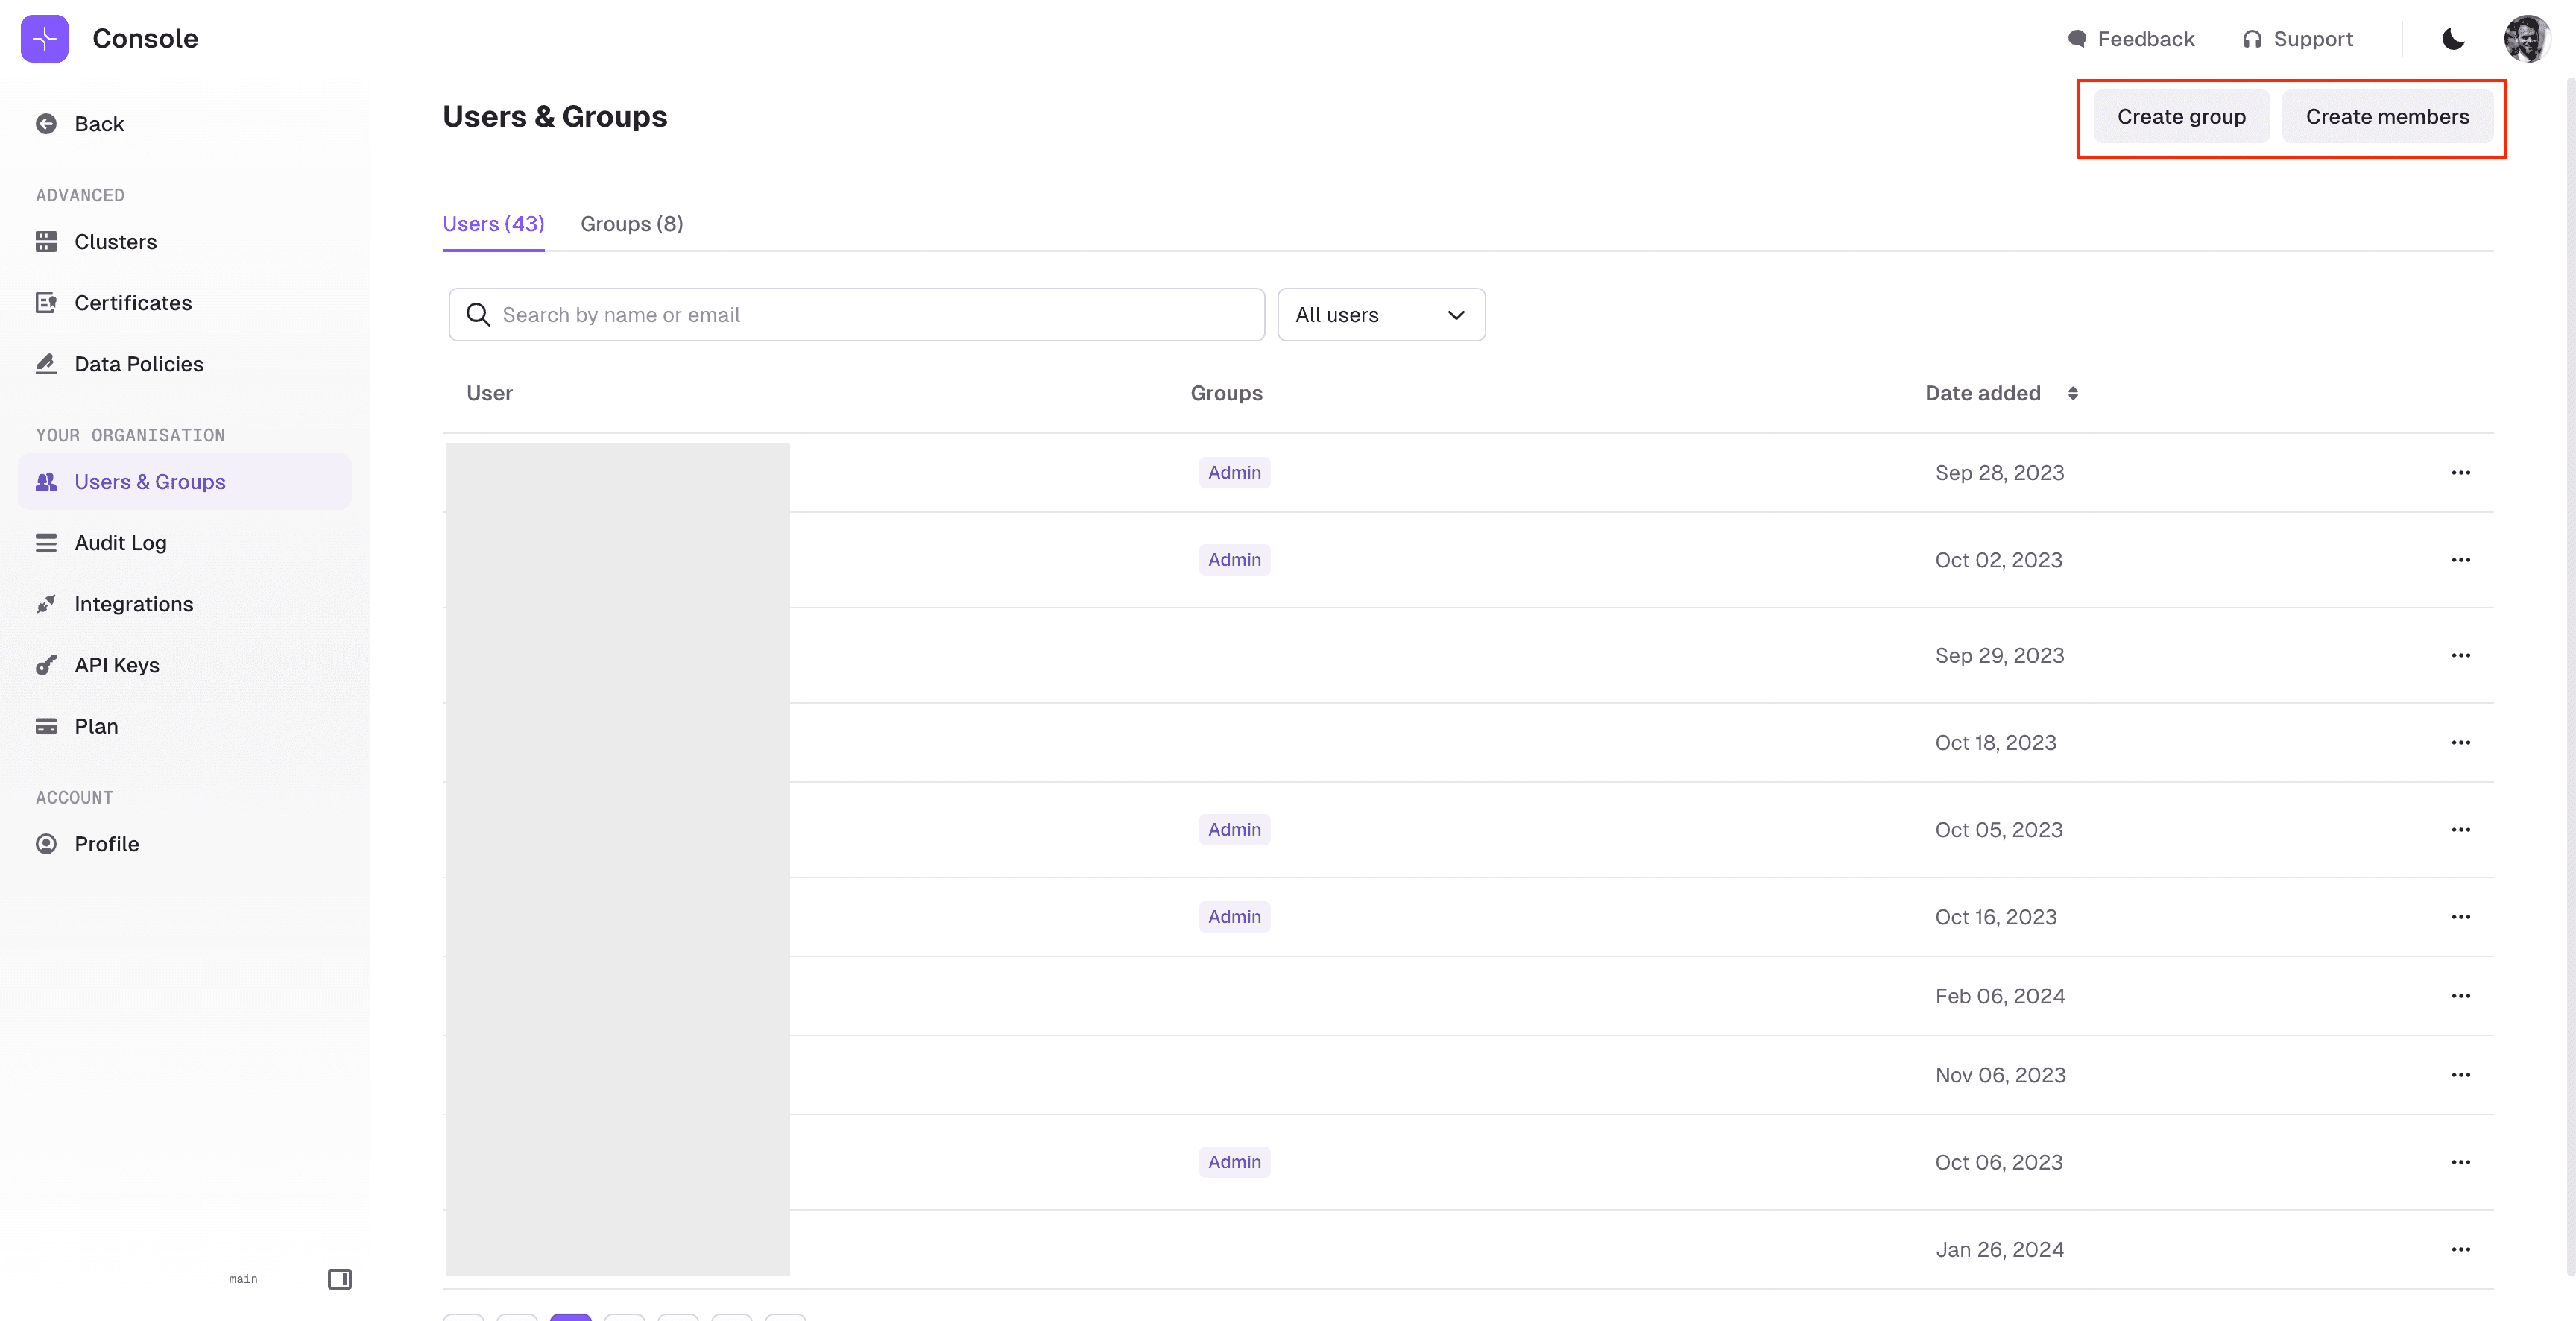
Add Your Team
Invite users from the Users & Groups screen. Conduktor supports SSO (LDAP, OIDC) or basic authentication:
Next Steps
You now have Conduktor Console running on AWS. Browse topics, manage consumer groups, inspect schemas, and monitor connectors.
See the documentation for detailed configuration. Other deployment options: Docker, Helm.